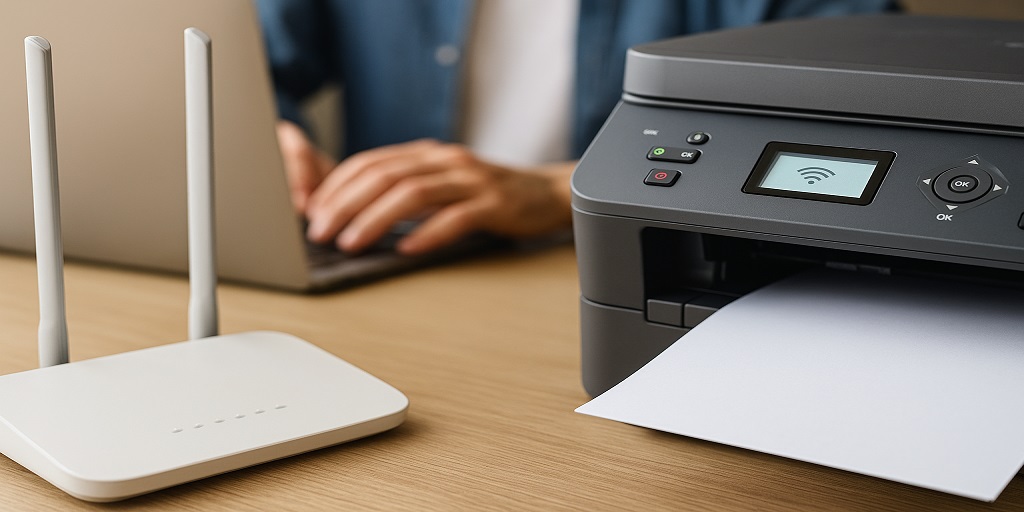
Brother Printer WiFi Setup Instructions Step by Step (Full Guide)
Learn Brother Printer WiFi Setup Instructions Step by Step with our easy guide. Covers touchscreen, USB, and WPS methods plus troubleshooting to get your printer connected fast.
If you’re here searching for Brother Printer WiFi Setup Instructions Step by Step, chances are your setup didn’t go quite as expected. We get it. Setting up a printer should be easy, but sometimes it turns into a rabbit hole of settings, missed connections, and head scratching. That’s exactly why Explore Tech Hive exists—we simplify tech setups so you don’t lose your mind over a blinking WiFi light.
In this guide, we’ll walk you through each method, from touchscreen to USB and even WPS. By the end, you’ll know exactly how to connect Brother printer to WiFi network—without jargon or tech speak.
What You’ll Need Before Starting
Before we dive in, make sure you have:
- A powered-on Brother printer
- Your WiFi network name (SSID) and password
- A device (laptop, phone, tablet) connected to the same WiFi
- A USB cable (only if your printer has no screen)
Brother Wireless Printer Setup Guide (Touchscreen Models)
Let’s start with the simplest path. If your Brother printer has a display screen, this method is for you.
Step 1: Tap “Menu” on the printer and navigate to Network > WLAN > Setup Wizard.
Step 2: It will list nearby WiFi networks. Pick your WiFi name.
Step 3: Enter your WiFi password carefully. Double-check for typos (we’ve all done it).
Step 4: Select OK. If all goes well, you’ll see a “Connected” message.
This setup method is what most would refer to as the step-by-step Brother printer installation tutorial—quick and user-friendly.
Setting Up Without a Touchscreen (USB or WPS)
No screen? No problem. Here’s how to work around it.
USB Setup Method
- Connect the printer to your computer with a USB cable.
- Download the official setup utility from Brother’s support site.
- Launch the installer and choose the Wireless Network Setup
- Enter your WiFi credentials when prompted.
- Disconnect the cable once the setup is complete.
This is perfect for entry-level printers or those without display panels.
WPS Setup (If Your Devices Support It)
If both your router and printer support WPS (Wi-Fi Protected Setup):
- Press the WPS button on your router.
- Within 2 minutes, press and hold the WPS or WiFi button on your printer.
- Wait for the printer to confirm the connection.
Check your printer’s manual to see if WPS is supported—it’s not always available.
Verifying Your Connection
Let’s make sure it actually worked.
- Print a network config page from the printer settings.
- Look for “Connection: OK” and ensure the correct SSID is listed.
- Send a test print to confirm everything’s in sync.
When Things Don’t Go As Planned
Even with good instructions, stuff can go sideways. Here’s what we recommend:
- Check that your WiFi password is entered correctly
- Restart the printer and router
- Ensure you’re on a 2.4GHz network (some Brother models won’t connect to 5GHz)
- If it says “Connected” but won’t print, uninstall and reinstall the driver
Still no luck? Swing by our main Brother WiFi setup instructions for deeper troubleshooting.
Setting Up on Windows or Mac
On Windows 11:
- Open Settings > Bluetooth & Devices > Printers & Scanners
- Click “Add device” and follow the prompts
On macOS:
- Head to System Settings > Printers & Scanners
- Click the “+” symbol to add your printer
- Use AirPrint or install Brother’s official drivers
Once added, try printing a test page to confirm.
FAQ: Brother Printer WiFi Setup Instructions Step by Step
- Do all Brother printers support wireless setup?
Not all of them. Some older or budget models require USB-only connections. Always check the model documentation first. - What is the easiest way to set up a Brother printer on WiFi?
Using the touchscreen is typically fastest. For non-screen models, USB setup is a close second. - How do I know if my Brother printer is connected to the correct WiFi network?
Print a network configuration page and check that the SSID matches your WiFi. - Is USB setup better than wireless for Brother printers?
USB is simpler for one-device use. But WiFi is more flexible if you’re printing from multiple devices. - How long does it take to complete a Brother WiFi setup?
Usually 5–10 minutes, unless you run into a hiccup or driver issue. - Do I need to install drivers before setting up WiFi on a Brother printer?
Yes, in most cases. Especially for USB setups or older operating systems.
Final Thoughts
Getting through the Brother Printer WiFi Setup Instructions Step by Step doesn’t have to be frustrating. We hope this guide helped simplify the process. If something still feels off, or you’re working with a particularly stubborn model, check out our main Brother WiFi setup instructions.
Explore Tech Hive is here to make your setup easier, not harder. One less headache—that’s the goal.