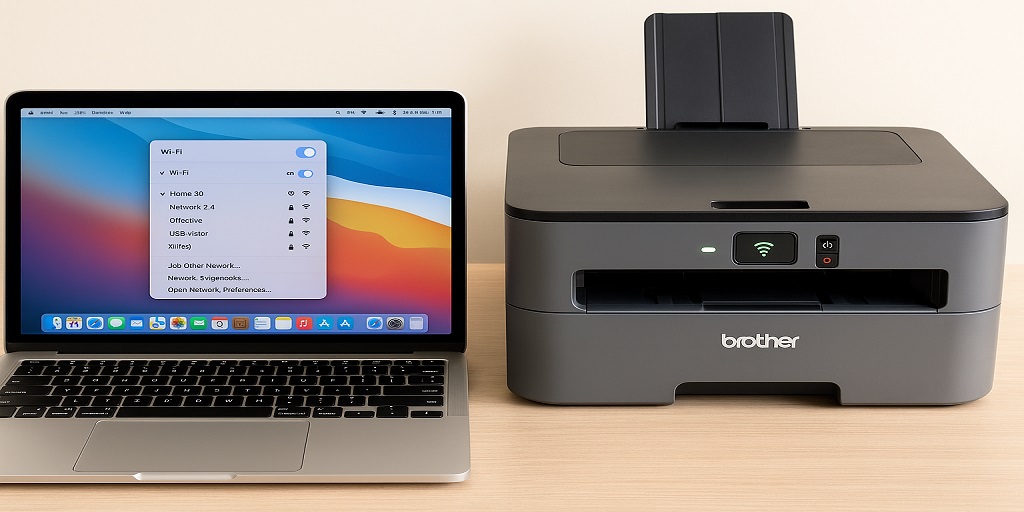
Brother Printer WiFi Setup on MacBook: Simple Connection Guide
Brother printer WiFi setup MacBook made easy. Follow our step-by-step guide to connect wirelessly, install drivers, troubleshoot errors, and start printing from your MacBook in minutes.
Setting up a Brother printer on a MacBook shouldn’t feel like solving a puzzle. But if you’ve ever found yourself staring at a “no printer found” message or wondering why your Brother printer just won’t connect, you’re in the right place.
At Explore Tech Hive, we’ve helped tons of users work through exactly this issue. Whether you’re using a brand-new Brother model or reconnecting an old one, this guide breaks it all down—simply, clearly, and without tech jargon. If you’re looking for a Brother printer WiFi setup MacBook guide that just works, let’s get started.
What You’ll Need Before You Start
Here’s what you’ll want on hand:
- A Brother printer with wireless capability
- Your MacBook (any macOS version 10.13 or later works best)
- Your WiFi network name and password
- A USB cable (optional, used only if needed)
This tutorial covers how to connect Brother printer to Mac WiFi both manually and automatically using Apple’s built-in tools.
Step 1: Prepare the Printer for Wireless Setup
Before you touch your MacBook, make sure the printer is ready.
- Turn on the printer and clear any old network settings (go to: Menu > Network > Network Reset).
- Once reset, go to Menu > Network > WLAN > Setup Wizard.
- Your printer will search for available WiFi networks. Select yours.
- Enter your WiFi password using the printer keypad.
- Wait for a confirmation. It usually says “Connected” or prints a confirmation sheet.
At this point, your Brother printer is on the same WiFi network as your MacBook. Now you can move to the actual pairing.
Step 2: Add the Printer to macOS
Here’s how to install Brother printer on MacBook wirelessly using built-in settings:
- On your Mac, click the Apple menu > System Settings (or System Preferences on older macOS versions).
- Go to Printers & Scanners.
- Click the + icon to add a printer.
- Your Brother printer should show up automatically under “Nearby Printers.”
- Select it. macOS will either auto-install the Brother driver or use AirPrint by default.
You’re done. Try printing a test page to make sure the connection works.
What If the Printer Doesn’t Show Up?
If your Brother printer doesn’t appear in the list:
- Make sure your printer and MacBook are on the same WiFi network.
- Disable any VPN or firewall temporarily.
- Restart your printer and MacBook.
- If you’re still stuck, consider downloading the driver manually.
For a more universal walkthrough, refer to our step-by-step Brother WiFi setup guide for all devices.
Optional: Use the Brother iPrint&Scan App
Brother also provides a free Mac app called iPrint&Scan, which can help with wireless printing and scanning.
- Download it from Brother’s official website or the Mac App Store.
- Open the app, search for your printer, and follow the prompts.
- This is especially handy for scanning documents or accessing advanced features like ink levels or paper tray settings.
When Should You Use a USB Cable?
In most cases, you won’t need it. But if you’re having trouble or the printer isn’t showing up at all, here’s what to do:
- Connect the printer to your Mac using a USB cable.
- Re-run the setup wizard from Brother’s website.
- Choose Wireless Setup as your method.
- Enter your WiFi info when prompted.
- Once setup is complete, remove the USB.
This allows you to get your wireless configuration completed without relying on auto-discovery.
FAQ – Brother Printer WiFi Setup on MacBook
- How do I add a Brother printer to MacBook wirelessly?
Go to System Settings > Printers & Scanners > click the + icon. Select your Brother printer if it appears. It should install automatically. - What driver do I need for Brother printer WiFi setup on macOS?
Newer macOS versions often use AirPrint. But for advanced functions, download the latest Brother driver from their official support page. - Why won’t my Brother printer show up in MacBook’s Printers & Scanners?
Ensure both devices are on the same WiFi, check that the printer is connected, and disable VPNs or firewalls temporarily. Restart both devices if needed. - Can I use AirPrint with a Brother printer on a MacBook?
Yes, most Brother printers support AirPrint. If your Mac detects the printer, it’ll likely use AirPrint by default unless you manually install a different driver. - How do I troubleshoot network errors during Brother printer setup on macOS?
Double-check your WiFi password, ensure 2.4GHz is active on your router, and reset the printer’s network settings before retrying. - Do I need to uninstall old drivers before setting up wireless Brother printer on a Mac?
It’s not always necessary, but if you’re switching from USB to WiFi or had a failed install before, removing old drivers can help avoid conflicts.
Final Thoughts from Explore Tech Hive
Setting up a Brother printer WiFi setup on MacBook isn’t too complicated once you break it down. If your printer is connected to the same WiFi as your Mac, you’re already halfway there. And whether you go with AirPrint, Brother’s software, or even the iPrint&Scan app, there’s more than one way to make it work.
If you get stuck—hey, it happens—restarting both devices, reinstalling the driver, or using a temporary USB connection can often smooth things out.
Still not working? Take a look at our step-by-step Brother WiFi setup guide for all devices. It walks you through the full setup flow with clear visuals and no fluff.
At Explore Tech Hive, we believe printing should be simple—even on a Mac.