
Brother Printer Setup & Installation Guide | Quick & Hassle-Free Steps
Setting up a Brother printer can seem daunting, especially if you’re not tech-savvy. But don’t worry—this guide will walk you through the entire process, from Brother printer setup to configuring Brother printer settings. Whether you’re looking to set up Brother printer for the first time or troubleshoot an existing setup, this guide has you covered. By the end, you’ll have a fully functional printer ready to handle all your printing, scanning, and copying needs. Let’s dive in!
Why Proper Brother Printer Setup Matters
Before we get into the steps, let’s talk about why proper setup is crucial. Installing the correct Brother printer setup software ensures your printer communicates seamlessly with your computer or mobile device. Proper Brother printer settings optimize performance, reduce errors, and unlock advanced features like wireless printing and scanning. Whether you’re using a Brother laser printer, inkjet, or all-in-one model, following these steps will save you time and frustration.
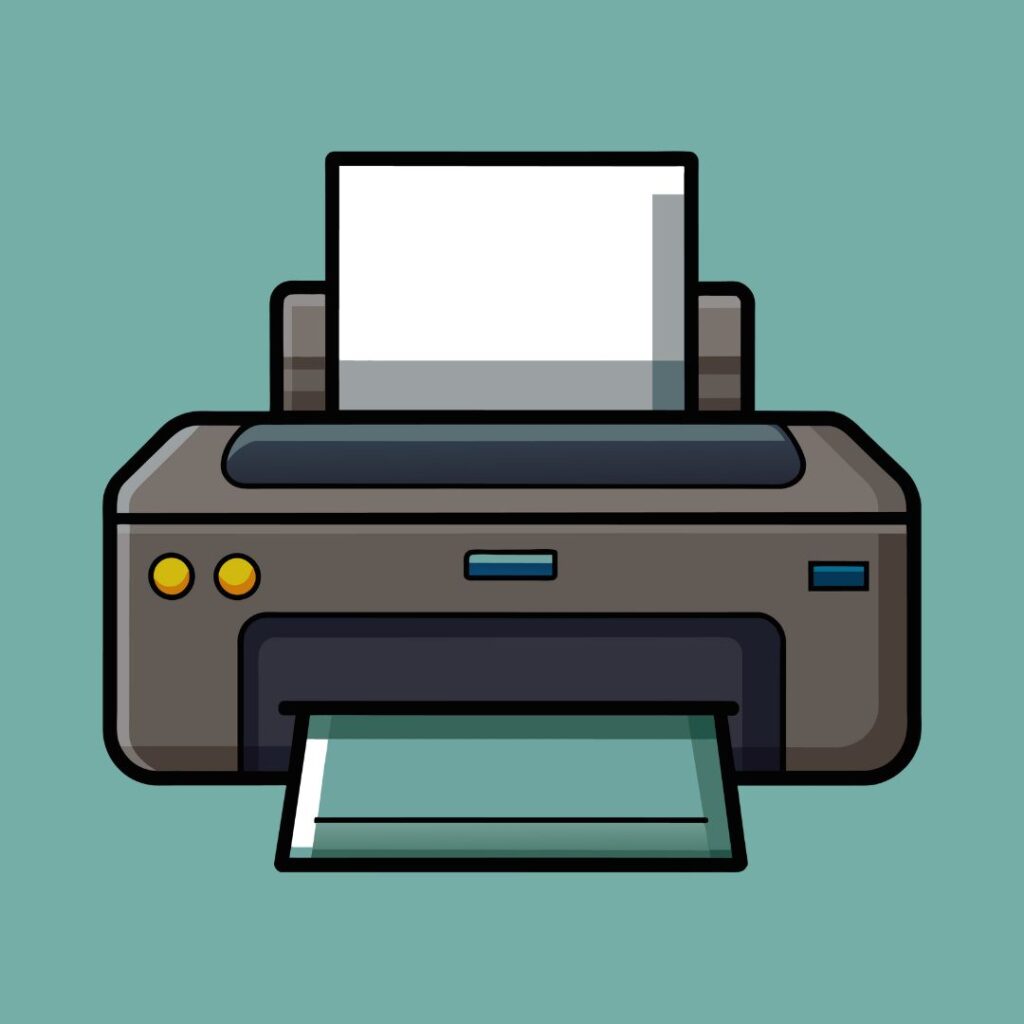
Step 1: Unbox and Prepare Your Brother Printer
- Unbox the Printer: Carefully remove your Brother printer from its packaging. Keep all accessories like power cords, USB cables, and ink/toner cartridges handy.
- Remove Protective Materials: Take off any tapes, stickers, or protective films from the printer.
- Install Ink/Toner Cartridges: Follow the printer manual to install the ink or toner cartridges correctly.
- Load Paper: Adjust the paper guides in the tray and load plain paper.
Step 2: Connect Your Brother Printer
Option 1: USB Connection
- Connect the printer to your computer using the provided USB cable.
- Turn on the printer and wait for your computer to detect it.
Option 2: Wireless Connection
- Press the Wi-Fi button on your printer’s control panel.
- Use the printer’s display to select your Wi-Fi network and enter the password.
- Once connected, your printer is ready for wireless printing.
Step 3: Install Brother Printer Setup Software
- Visit the Official Brother Website: Go to Brother Support.
- Enter Your Printer Model: Search for your specific Brother printer model (e.g., Brother MFC-L2710DW).
- Download Software: Select your operating system (Windows, macOS, etc.) and download the latest setup for Brother Printer software.
- Run the Installer: Open the downloaded file and follow the on-screen instructions to install the software.
- Restart Your Computer: After installation, restart your computer to apply the changes.
Step 4: Configure Brother Printer Settings
- Access Printer Settings: Open the Control Panel on your computer and navigate to Devices and Printers.
- Set as Default Printer: Right-click your Brother printer and select Set as Default Printer.
- Adjust Print Preferences: Click Printer Properties to customize settings like paper size, print quality, and orientation.
- Enable Wireless Printing: If you’re using a wireless connection, ensure the printer is connected to the same network as your computer.
Step 5: Test Your Brother Printer
- Print a Test Page: Open any document and print a test page to ensure everything is working correctly.
- Scan a Document: Place a document on the scanner bed and use the Brother printer setup software to scan it.
- Check Wireless Connectivity: Print a document from a wireless device to confirm the connection.
Step 6: Troubleshooting Common Issues
- Printer Not Detected
- Ensure the printer is powered on and connected to your computer or Wi-Fi network.
- Reinstall the Brother printer software.
- Poor Print Quality
- Clean the print head or replace the ink/toner cartridges.
- Adjust the Brother printer settings for higher print quality.
- Wireless Connection Issues
- Restart your router and printer.
- Reconnect the printer to your Wi-Fi network.
FAQs About Brother Printer Setup
- Where Can I Download Setup for Brother Printer Software?
You can download the latest Brother printer setup software from the official Brother support website. Avoid third-party sites to prevent malware or incorrect downloads.
- How Do I Set Up My Brother Printer Wirelessly?
Press the Wi-Fi button on your printer, select your network, and enter the password. Follow the on-screen instructions to complete the setup.
- What Should I Do If My Printer Isn’t Printing?
Check the connection, ensure the printer has paper and ink, and reinstall the Setup for Brother printer software.
- Can I Use My Brother Printer Without Setup Software?
While basic functions might work without the software, you’ll need the correct Brother printer setup software to access all features and ensure optimal performance.
- How Do I Update My Brother Printer Software?
Visit the Brother support website, enter your printer model, and download the latest software. Follow the installation steps to update your setup.
Why Choose Brother Printers?
Brother printers are known for their reliability, affordability, and user-friendly features. Whether you’re printing documents, photos, or labels, Brother printers deliver exceptional quality. With the right Brother printer setup software and settings, you can unlock the full potential of your device and enjoy hassle-free printing.
Conclusion
Setting up your Brother printer doesn’t have to be complicated. By following this guide, you can easily install Brother printer setup software, configure Brother printer settings, and troubleshoot common issues. Whether you’re a first-time user or looking to optimize your setup, these steps will ensure your printer operates smoothly and efficiently.