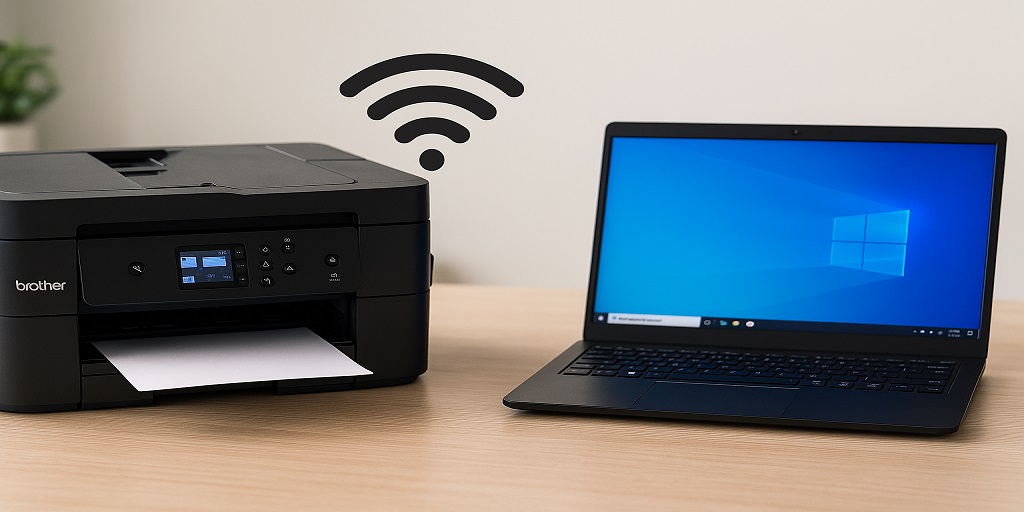
Let’s be honest—setting up a printer shouldn’t feel like defusing a bomb. But when you’re trying to connect your Brother printer to WiFi on Windows 11, it can sometimes feel just like that. Between navigating settings, fiddling with drivers, and double-checking passwords, things can get a little frustrating.
If you’re nodding your head right now, don’t worry—you’re not alone. I’ve helped a good number of friends and colleagues with this exact issue, and trust me, once you know what to look for, the process becomes surprisingly simple. This guide will walk you through each step and help you avoid the common pitfalls.
Getting Started: Know What You’re Working With
Before diving into the setup, you need to check a few basics:
- Is your Brother printer WiFi-enabled? (Most newer models are.)
- Is your WiFi network stable and working?
- Have you installed the latest printer drivers on your Windows 11 device?
It may sound obvious, but skipping even one of these steps can leave you wondering why nothing’s working.
Step-by-Step Guide: Connecting Brother Printer to WiFi
1. Turn on the Printer and Access Network Settings
Start by switching on your Brother printer. On the home screen, press Menu and navigate to Network > WLAN > Setup Wizard.
Your printer will scan for available wireless networks. Give it a few seconds.
2. Select Your WiFi Network
From the list that appears, choose your WiFi network. Make sure you select the right one if there are multiple similar names nearby. Once selected, you’ll be prompted to enter your WiFi password. Type it carefully.
After a short while, your printer should display Connected. That’s your green light.
3. Install Brother Printer on Windows 11
If you haven’t already, head over to Brother’s official website and download the latest drivers for your printer model. Make sure to select Windows 11 as your OS. Follow the on-screen instructions during the install process.
When prompted, choose Wireless Network Connection. The installer will automatically find your printer if it’s properly connected to the same WiFi.
Still Having Issues?
No need to panic. If the above steps didn’t work, there could be minor glitches interfering with the process. You might want to try restarting your printer, resetting the network settings, or temporarily turning off firewall or antivirus software.
We’ve written a full breakdown of Brother printer WiFi setup for Windows 11 users that includes screenshots and extra tips if you’re stuck at any point.
Advanced Setup: Using WPS for a Faster Connection
If your router supports WPS (Wi-Fi Protected Setup), there’s an even quicker method:
- On your Brother printer, go to Network > WLAN > WPS/AOSS.
- Press the WPS button on your router (usually for 3 seconds).
- Your printer will automatically connect to the WiFi network.
It’s honestly kind of magical how quick this method is—assuming your router supports it, of course.
Why Is This Important?
These days, printing isn’t just limited to offices. With remote work, hybrid teams, and online education becoming more common, having a reliable wireless printer setup is almost a necessity. Whether you’re printing invoices, schoolwork, or just an overdue return label, wireless printing saves time and reduces hassle.
Also, connecting your printer to WiFi allows other users on the same network to print too—without plugging and unplugging cables. Once your setup is done, it stays that way unless your network changes.
For a wider overview and other printer how-tos, visit our WiFi setup tutorial for Brother printers.
Common Mistakes People Make (And How to Avoid Them)
Even if you’re following all the steps correctly, it’s easy to overlook a few things:
- Wrong password: Double-check that your WiFi password is correct. A typo here is more common than you’d think.
- Printer too far from router: WiFi signals can be finicky. Move the printer closer to your router during setup.
- Using VPN or firewall during installation: These can block connection attempts. Try disabling them temporarily.
- Outdated firmware: Your printer might need a firmware update. Check on Brother’s support page.
It’s little things like these that can throw you off. Always take a deep breath and double-check before starting over.
Frequently Asked Questions (FAQ)
- Why won’t my Brother printer connect to Wi‑Fi on Windows 11?
There could be several reasons—incorrect password, interference from a firewall, or outdated firmware. Restart your printer and router, then retry the connection. - How do I reset my Brother printer’s network settings on Windows 11?
On the printer’s control panel, go to Network > Network Reset. Confirm the reset. This will erase all previous WiFi settings and return it to default. - Can I connect a Brother printer to Wi‑Fi using WPS on Windows 11?
Yes. If both your router and printer support WPS, simply enable WPS on your printer and press the WPS button on your router. The connection will complete in seconds. - How do I find the IP address of my Brother printer in Windows 11?
Open Control Panel > Devices and Printers. Right-click your Brother printer > Printer Properties > Ports tab. Your IP address should be listed there. - What do I do if my Brother printer keeps dropping the Wi‑Fi connection?
Try updating your printer’s firmware and router software. Also, check for signal interference and keep the printer closer to your WiFi router. - Is there a Brother printer utility app for Wi‑Fi setup on Windows 11?
Yes. You can download the Brother iPrint&Scan utility or use the Printer Setting Tool available on their official website. Both assist with WiFi setup and troubleshooting.
Final Thoughts
Technology is supposed to make our lives easier, not more stressful. Once you get your Brother printer connected to WiFi on your Windows 11 system, you’ll wonder why you didn’t do it sooner. Printing from anywhere in your house (or office) without dealing with cables feels like a small win—but it’s a win nonetheless.
And hey, if something doesn’t go as planned, don’t beat yourself up. Just refer back to this guide or drop by our resources at Explore Tech Hive.


