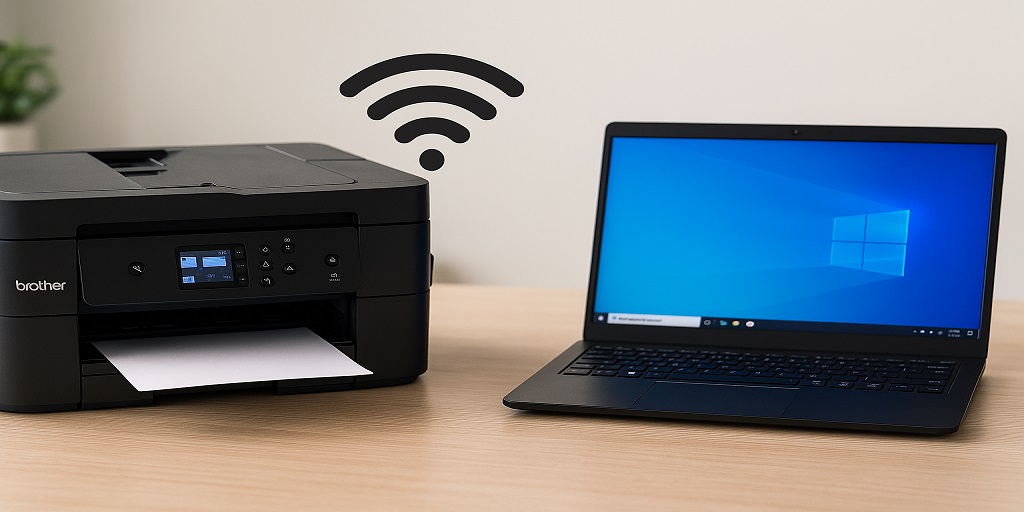
Setting up your Brother printer on a MacBook sounds like it should be simple, but as many Mac users quickly learn—it often takes a few more clicks than expected. If you’ve just unpacked a brand-new printer or switched your WiFi router, this guide will walk you through the exact steps you need to get your Brother printer connected to your MacBook wirelessly.
At Explore Tech Hive, we’ve tested countless printer setups so you don’t have to guess your way through it. Whether you’re new to macOS or just need a refresher, this guide is built to help you connect in under 10 minutes—no confusing tech lingo required.
What You’ll Need
Before jumping into the steps, make sure you have:
- A MacBook running macOS Ventura or later
- A Brother printer with WiFi capability (on and ready)
- Your WiFi name and password
- A stable 2.4GHz wireless network (most Brother printers don’t support 5GHz)
Let’s get started.
Step-by-Step WiFi Setup for Brother Printers on MacBook
The steps may vary slightly depending on your model, but the core process remains the same. Let’s walk you through it.
1. Start with the Printer Setup
If your Brother printer has a screen:
- Use the Menu button to navigate to Network > WLAN > Setup Wizard.
- Select your WiFi network.
- Enter your password carefully.
- Wait for the “Connected” confirmation.
If your model doesn’t have a screen, don’t worry. You can still connect via WPS or USB.
For no-screen models, check our how to connect a Brother printer to WiFi on a MacBook guide.
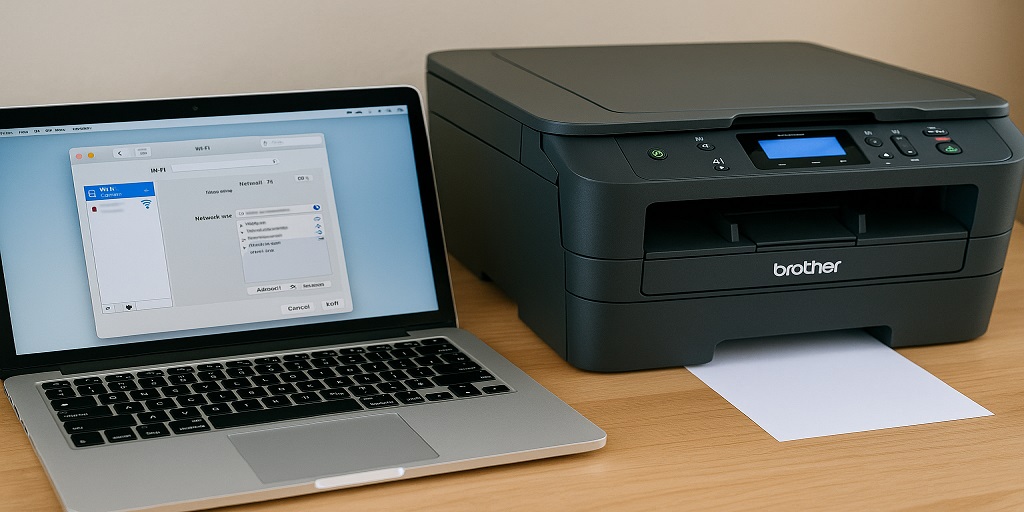
2. Add the Printer on Your MacBook
Once the printer is on your network:
- Click the Apple icon > System Settings > Printers & Scanners
- Tap the plus (+) sign to add a new printer
- Your Brother printer should appear under the default list
- Click Add
If it doesn’t show up, check that your MacBook is on the same WiFi network as the printer. You might also need to download the latest Brother driver.
3. Install the Right Drivers
Although macOS often recognizes Brother printers automatically through AirPrint, some models require the full driver for advanced features.
Visit the Brother official support page, enter your printer model, and download the macOS driver. Once installed:
- Reboot your MacBook
- Go to Printers & Scanners, remove any old entries
- Re-add your printer using the steps above
Now you should have access to settings like duplex printing, toner levels, and scan utilities.
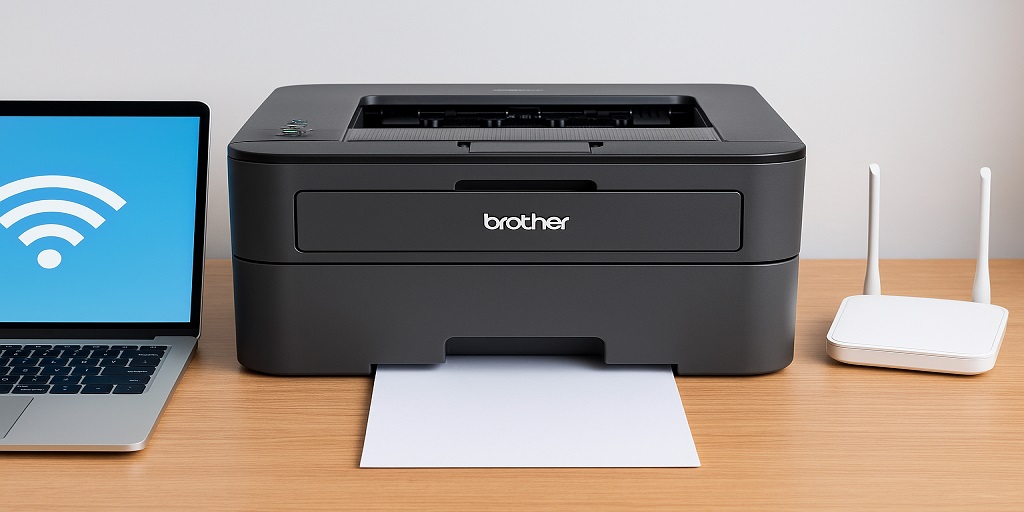
Wireless Setup Using WPS (No Display Panel)
If your Brother printer doesn’t have a touchscreen and you want to connect without cables:
- Press the WPS button on your router.
- Within 2 minutes, press and hold the WiFi or WPS button on your Brother printer.
- Wait for the light to turn solid—this confirms the connection.
You can then add the printer to your MacBook using System Settings as explained earlier.
Troubleshooting Tips for MacBook Users
So your printer connected… but isn’t printing? Or maybe it just won’t show up? Let’s sort that out.
– Restart Both Devices
Turn off your Mac and the printer. Restart your router as well. It solves more issues than you’d think.
– Confirm 2.4GHz vs 5GHz
Many Brother printers don’t support 5GHz WiFi. Make sure your MacBook and printer are on the 2.4GHz band.
– Use Bonjour
macOS uses Bonjour to discover devices. If it’s not enabled or if the printer doesn’t support it, the printer may not show up.
– Reset Printing System (Only if All Else Fails)
Go to Printers & Scanners, right-click anywhere in the printer list, and choose “Reset Printing System.” Be cautious—this removes all printers.
Advanced Tip: Static IP for Stability
Some printers drop off WiFi randomly because their IP address keeps changing. You can assign a static IP through your router’s admin panel. This keeps your printer always reachable, even after a reboot.
More Articles You Might Need
- Check out our universal Brother printer WiFi setup guide for instructions across all models and OS.
- If your printer doesn’t have a display, here’s a step-by-step guide on how to connect a Brother printer to WiFi on a MacBook.
Frequently Asked Questions (FAQ)
- Why won’t my MacBook detect my Brother printer on the network?
Make sure both devices are on the same WiFi network. Also, check if Bonjour is enabled and if the printer supports AirPrint or manual driver installation.
- How do I manually add a Brother printer on macOS over WiFi?
Go to System Settings > Printers & Scanners > Add Printer. If it doesn’t show up automatically, click IP, enter the printer’s IP address, and select the Brother driver.
- Do Brother printers require special drivers for macOS WiFi setup?
Not always. macOS supports many models using AirPrint. But for full features (like scanning and ink monitoring), install the official Brother driver.
- Why does my Brother printer appear offline on Mac after setup?
This usually happens when the printer loses its IP address or the connection drops. Try setting a static IP or re-adding the printer via System Settings.
- Can I use Bonjour to connect my Brother printer wirelessly on a Mac?
Yes. Bonjour is built into macOS and lets your system discover printers. Make sure it’s turned on in your printer’s settings (usually by default).
- Is resetting the printing system on Mac necessary to fix WiFi setup errors?
Only if all else fails. Resetting removes all printers and scanner drivers. Do this if your Mac refuses to recognize the printer despite being connected.
Final Thoughts
Getting your Brother printer to work on a MacBook over WiFi might seem like a tech headache, but once you get the setup right, it’s smooth sailing from there. Just remember to keep both devices on the same network, use the correct drivers, and check for software updates from Brother.
If you’re still stuck or unsure what went wrong, the macOS printing system reset and static IP assignment tend to fix 90% of lingering issues.